How to Add Meta Tag and Verify a Domain on Facebook

To use landing pages for targeted ads on Facebook and Instagram for the "Conversion goal", you need to confirm your domain in your Facebook business manager.
In this article, you will learn how to verify a free domain created with SendPulse (minisite.ai and pulse.is) using one of the methods offered by Facebook business manager — adding a meta tag.
How to Add a Domain to Facebook
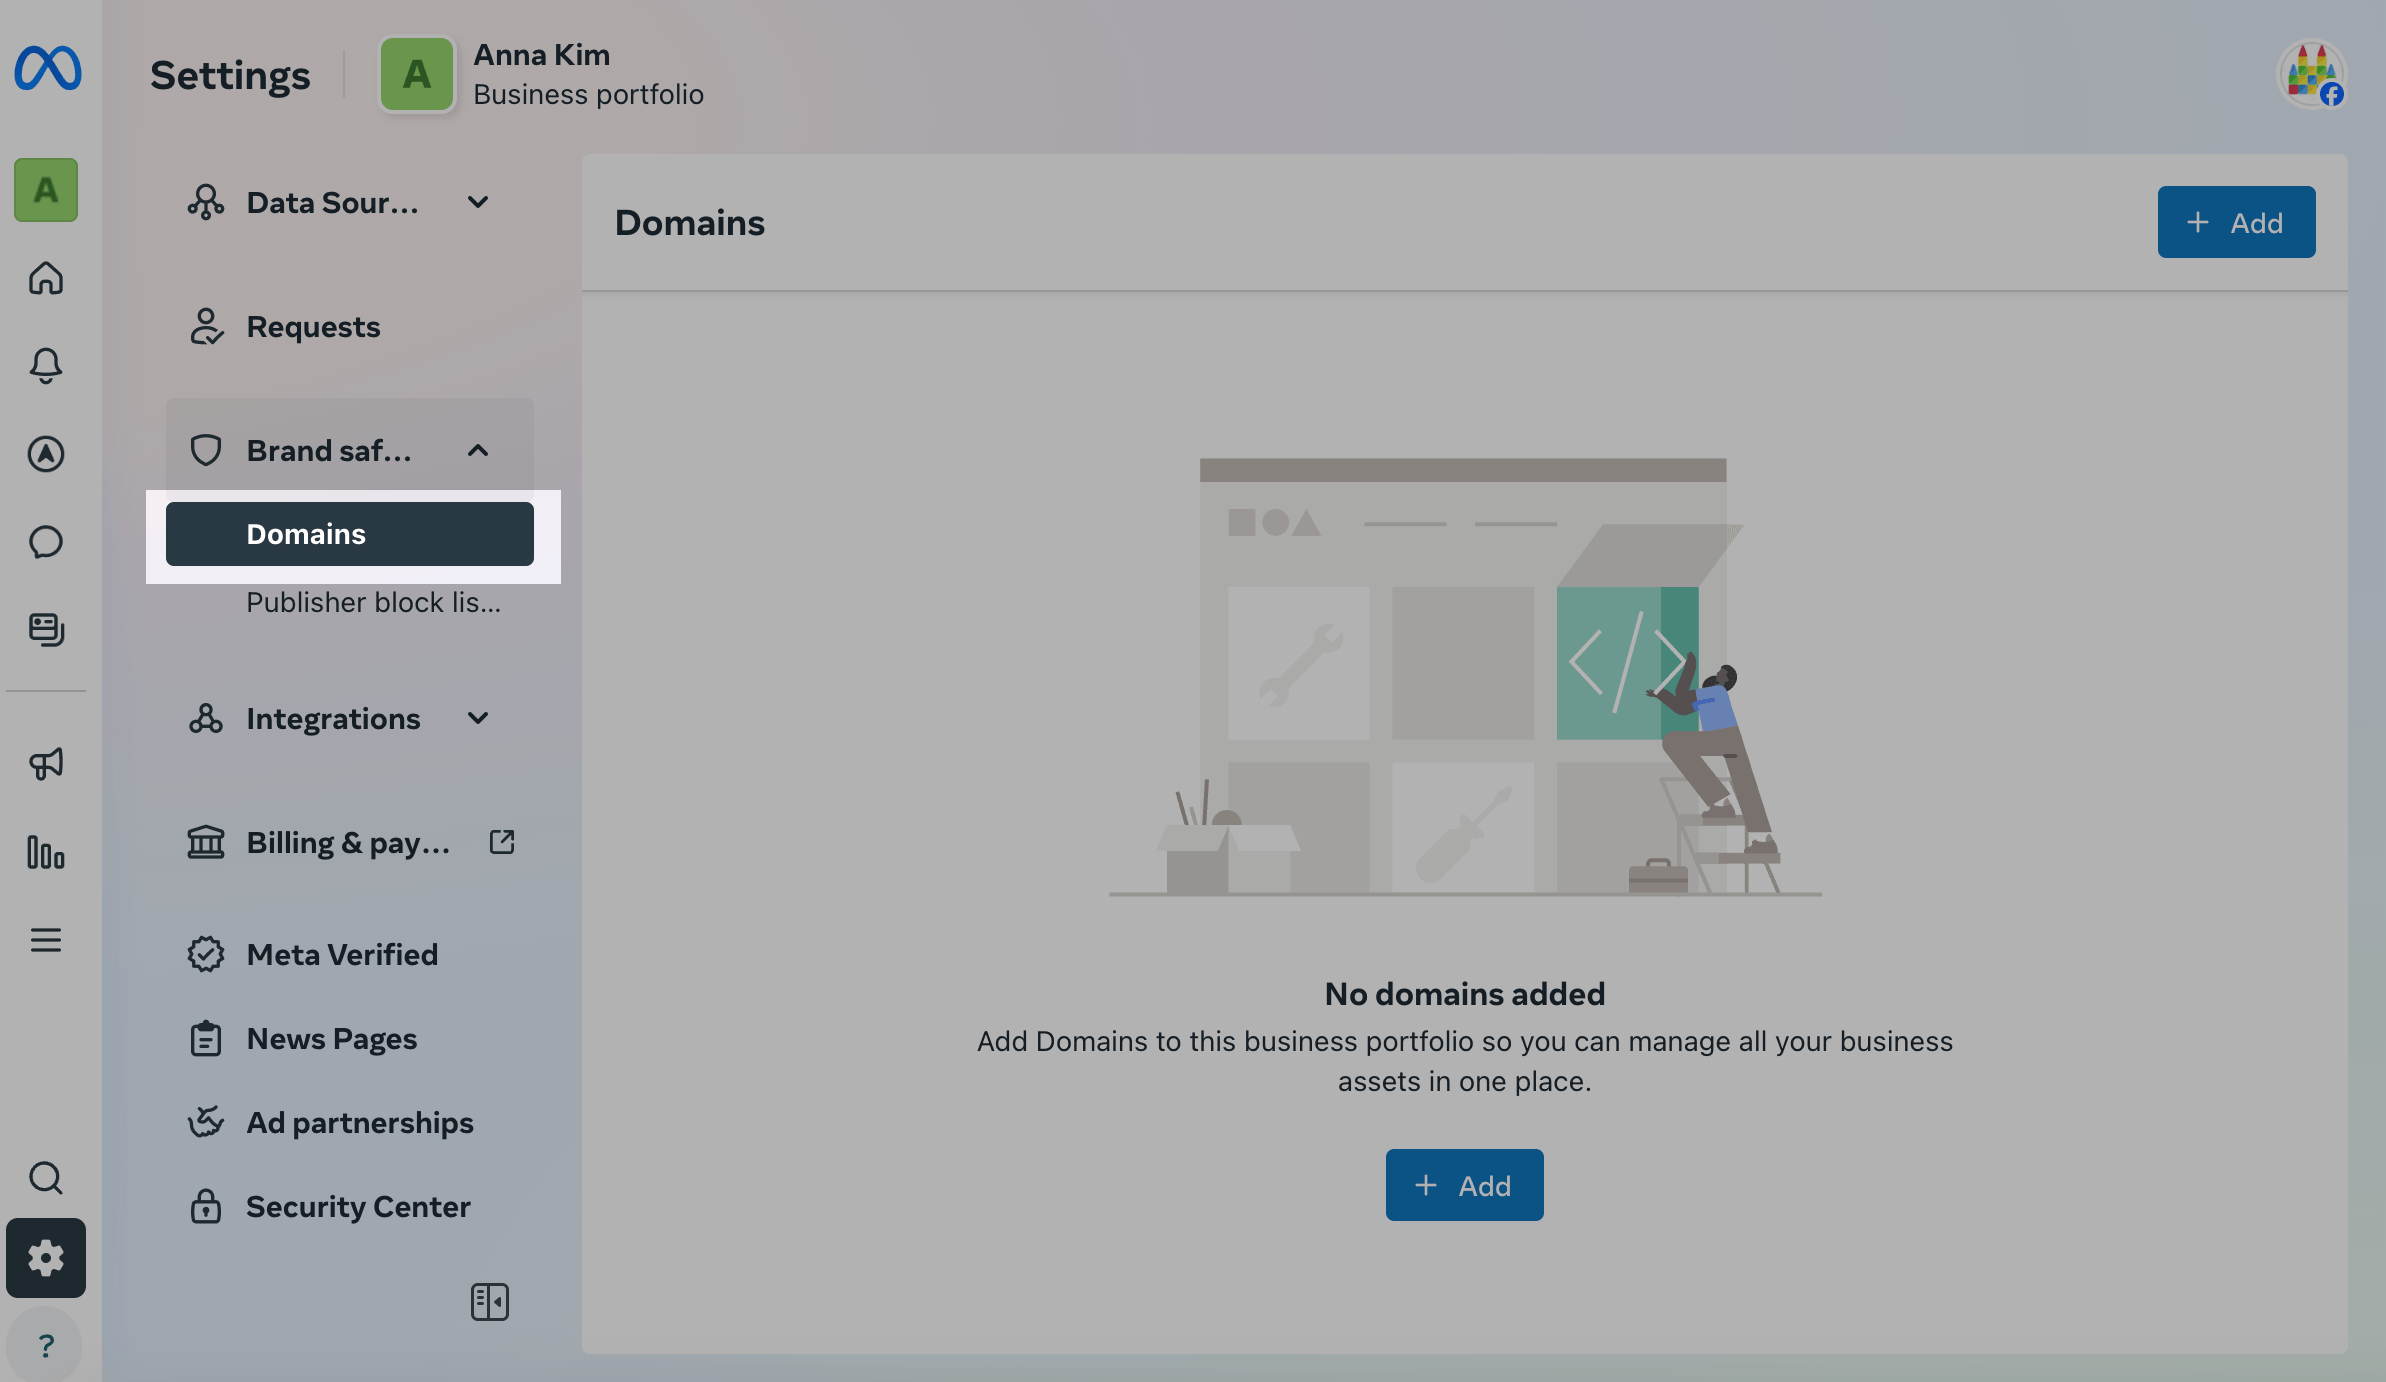
Go to your business account settings, in the "Brand Security" section, click on Domains.
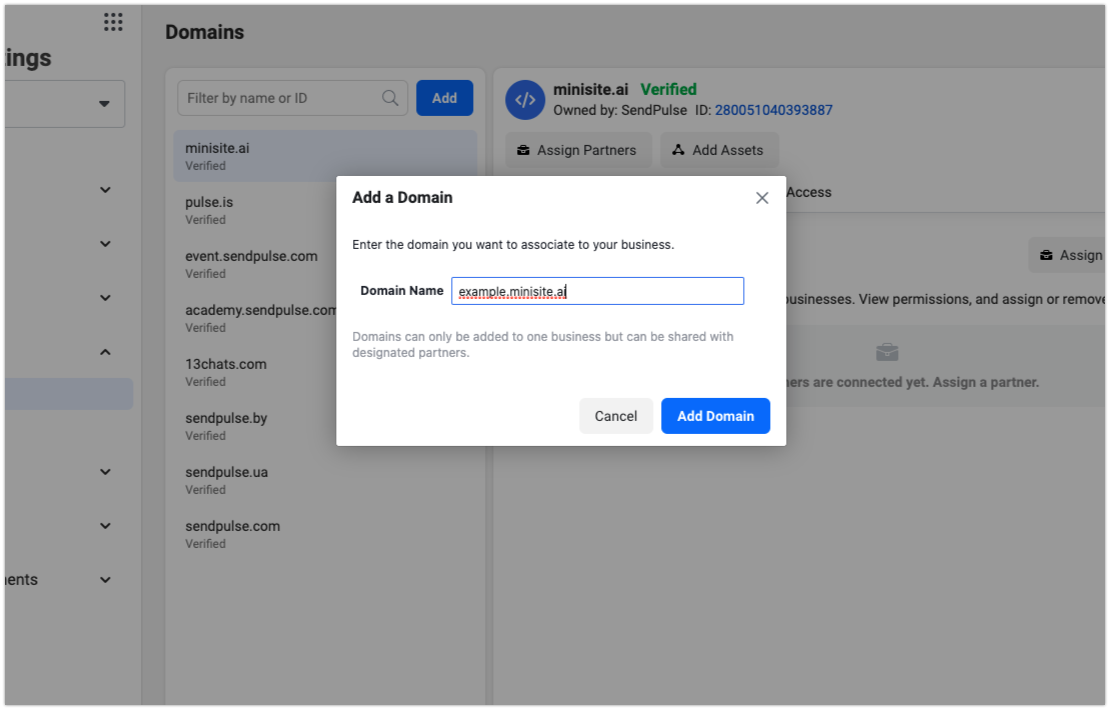
Click Add, enter a domain, and click Add Domain.
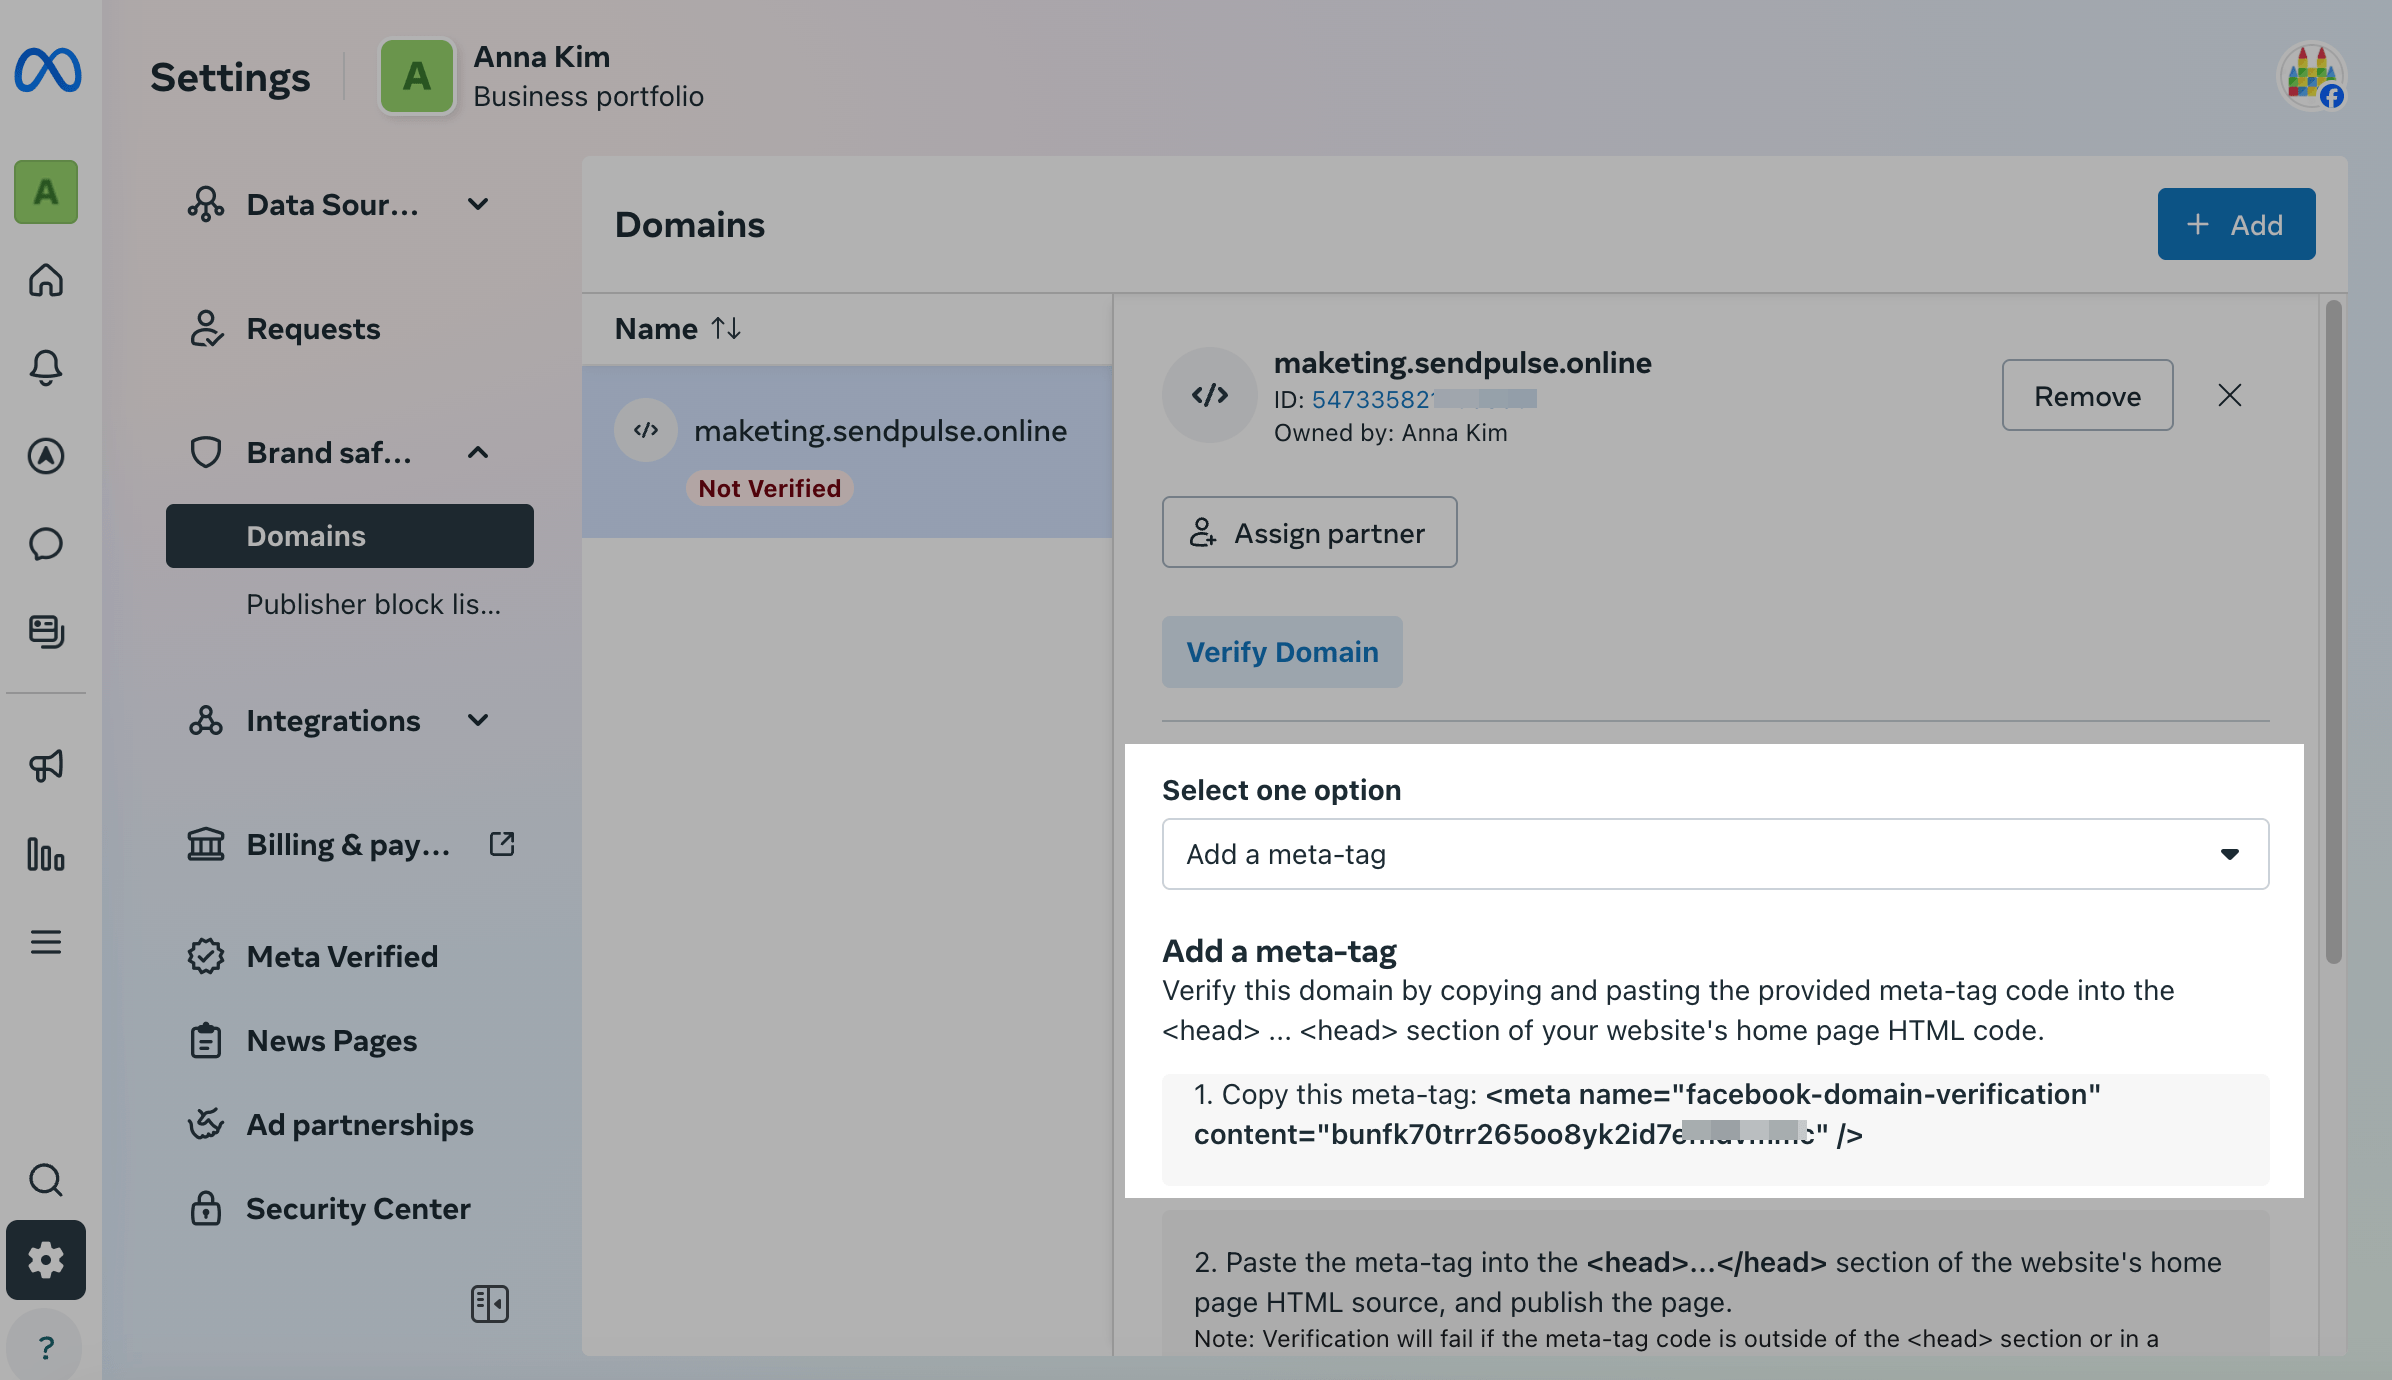
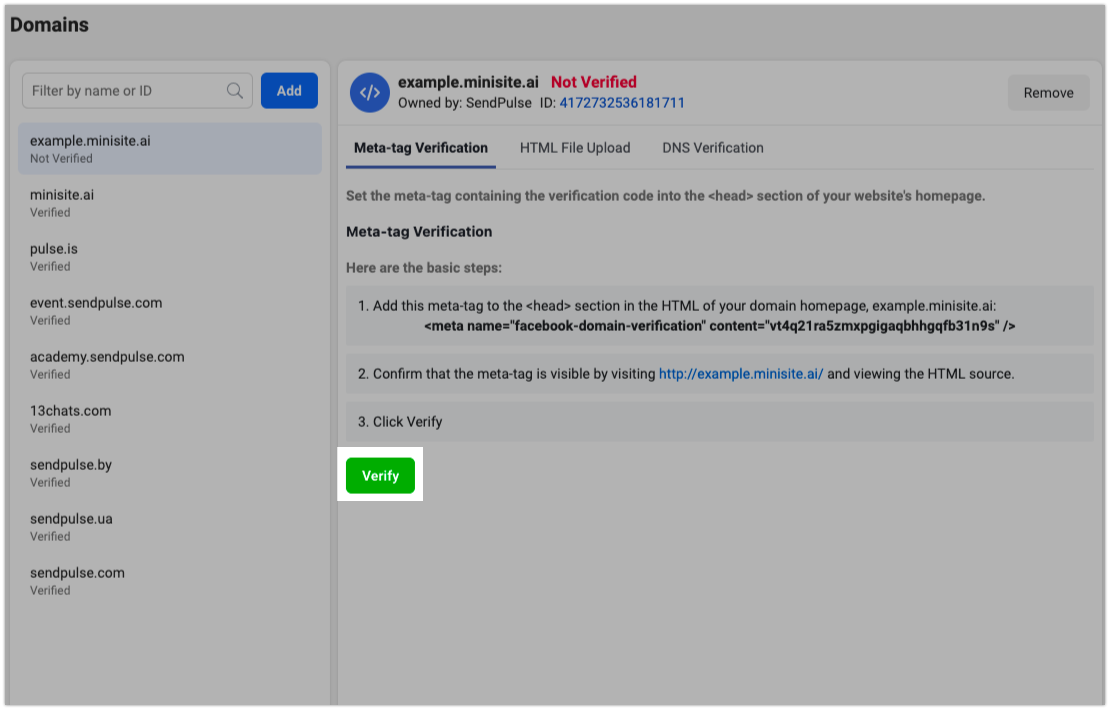
Click on the added domain and go to the “Meta Confirmation” tab. Select the option to validate your domain using a meta tag. Copy the suggested HTML code.
How to Add a Meta Tag in SendPulse
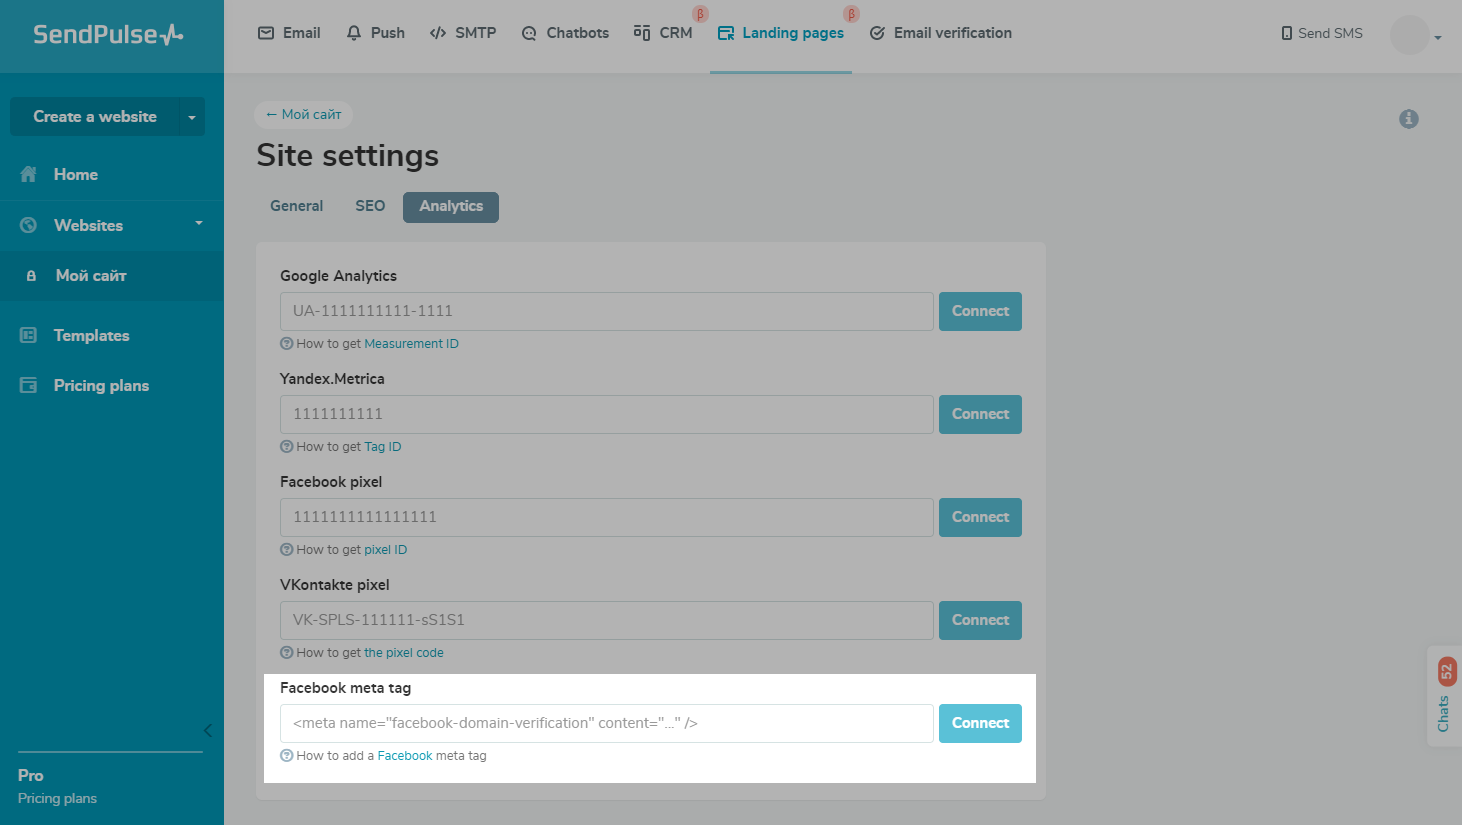
Go to the site settings in the "Analytics" tab. Next to the “Custom Tag” field, enter the copied tag and click Connect.
How to Check and Validate a Meta Tag
To make sure the meta tag has been added, go to the site on this domain and check the source code.
Go back to Facebook settings in the "Meta tag confirmation" tab and click Confirm.
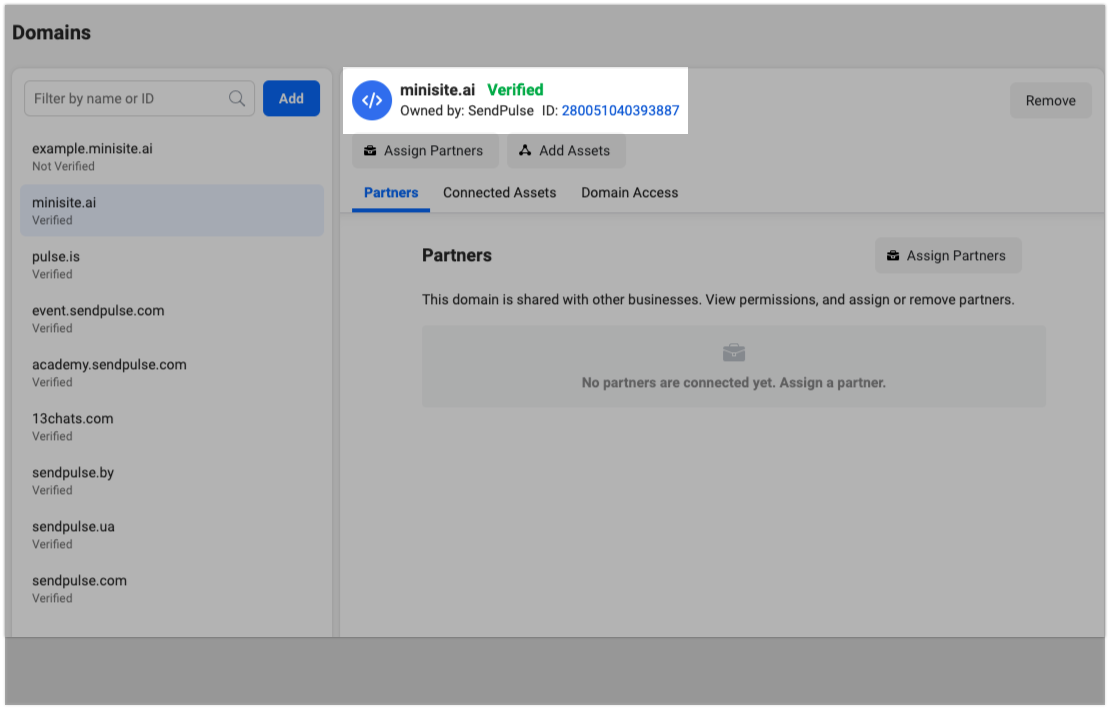
After confirmation, a "Confirmed" mark will appear next to your domain.
Last Updated: 08.12.2023
or