How to Manage Student Information
After enrolling in a course, students are added to the "Edu" section of the selected course in the "Overview" tab. In addition, contacts are created in the "CRM" section, so you can work with students via the pipeline and communicate using different communication channels.
In this article, we'll look at how to view student information in these two sections.
See also: How to View Student Questions, How to Track Student Progress.
How to View Student Information in the “Edu” Section
Go to the "EDU" section in the "Courses" tab. Select the desired course, and go to the "Overview" tab.
The list of enrolled students and their personal data (name, status, assigned tags, and scores) will be displayed in the "Students" section.

Student Filter
You can filter the list of students by the following criteria: status, name, email, tags, and score.

Course Progress Status
The “Progress” column displays the following course completion statuses:
| Not start | The student registered for the course but did not open the lessons. |
| Started | The student opened the first lesson |
| In progress | A student is in the process of taking a course |
| Completed | The student has successfully met the course completion criteria (completed all lessons and/or passed a test). |
| Received a certificate | The student has successfully met the course completion criteria and received a certificate |

You can also see how many students have completed your curse. Go to the "Lessons" tab, and, next to each lesson, you will see the number of students who have completed them.

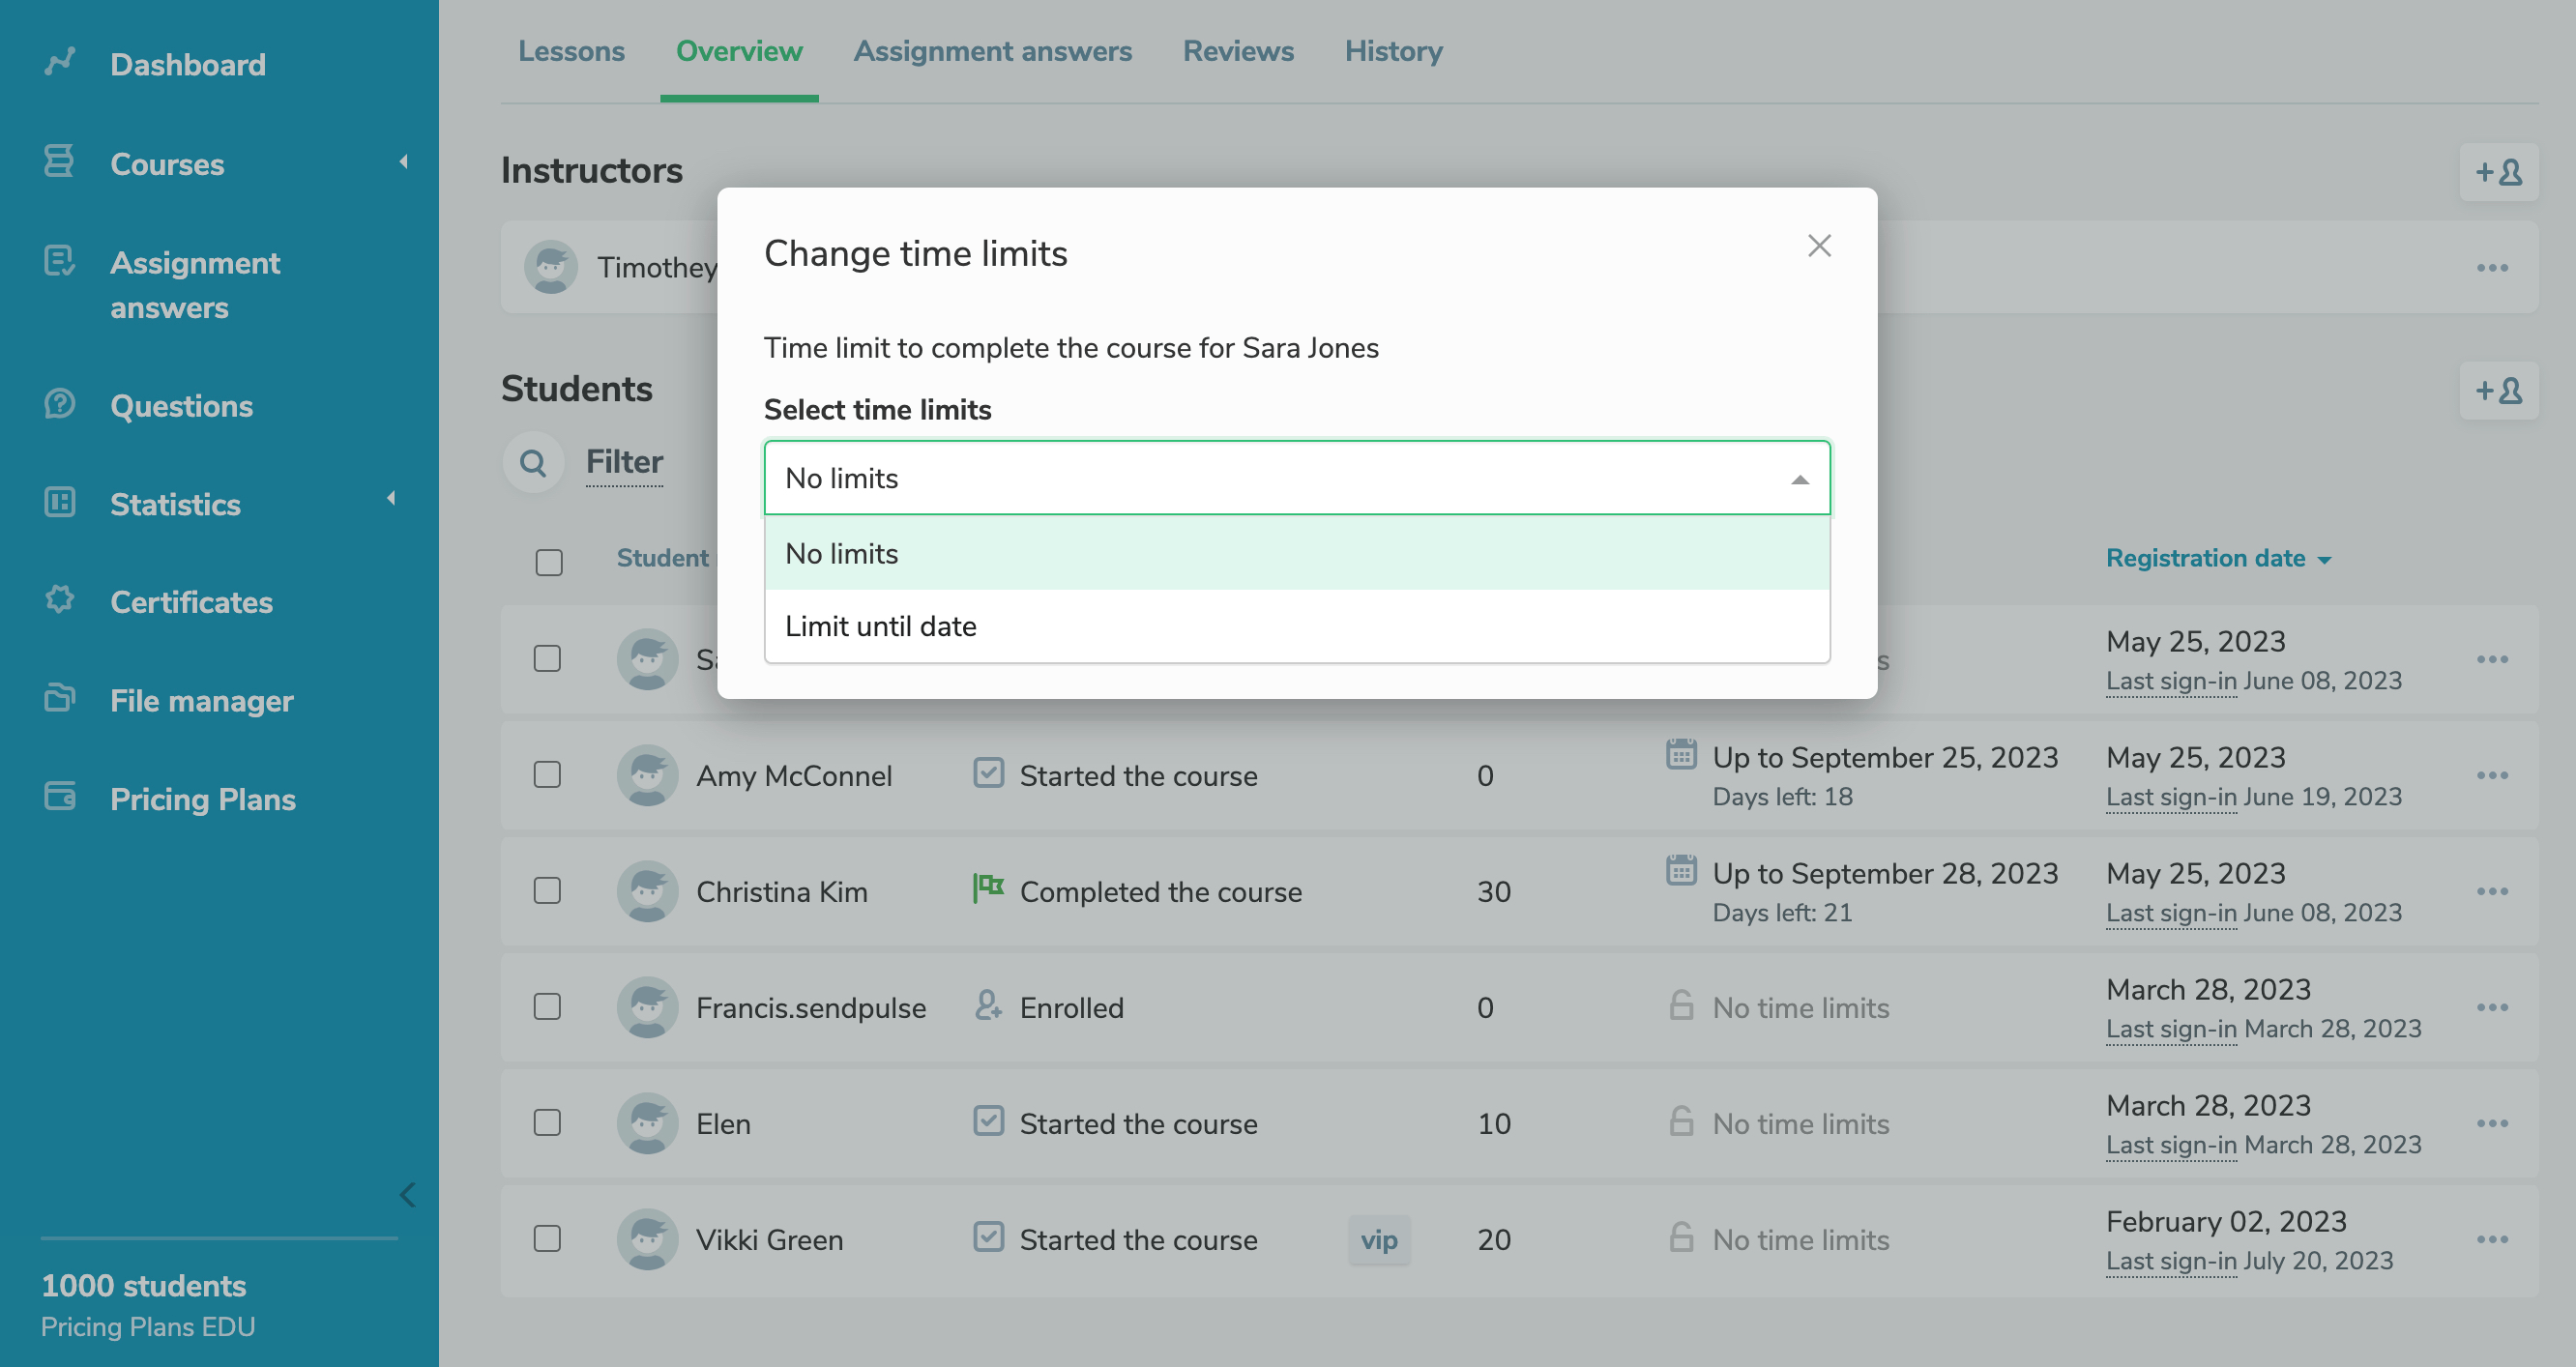
Time Limit to Complete the Course
You can also set course completion time limits for a specific student or several students.
To set course completion time limits for one student, click the three dots next to your student, and select "Change time limits."

Select a time limit.
| No limits |
Students can take courses during the time period you set in your course settings. If you select "No limits" in your course settings, your students will be able to complete your course regardless of limits in days or until certain dates. If you select "Limit until date" or "Limit in days" in your course settings, your students will be able to complete your course until the selected time period. |
| Limit until date |
Students can complete your course before a certain date. If you select this option, add a date until which students have to complete your course. If you select a date or a time period in the "Limit until date" or "Limit in days" course option that precedes the course completion deadline you have set for your specific student, this student will have to complete your course before that date or time period end. |
To set course completion time limits for several students, select these students, and click Change time limits.
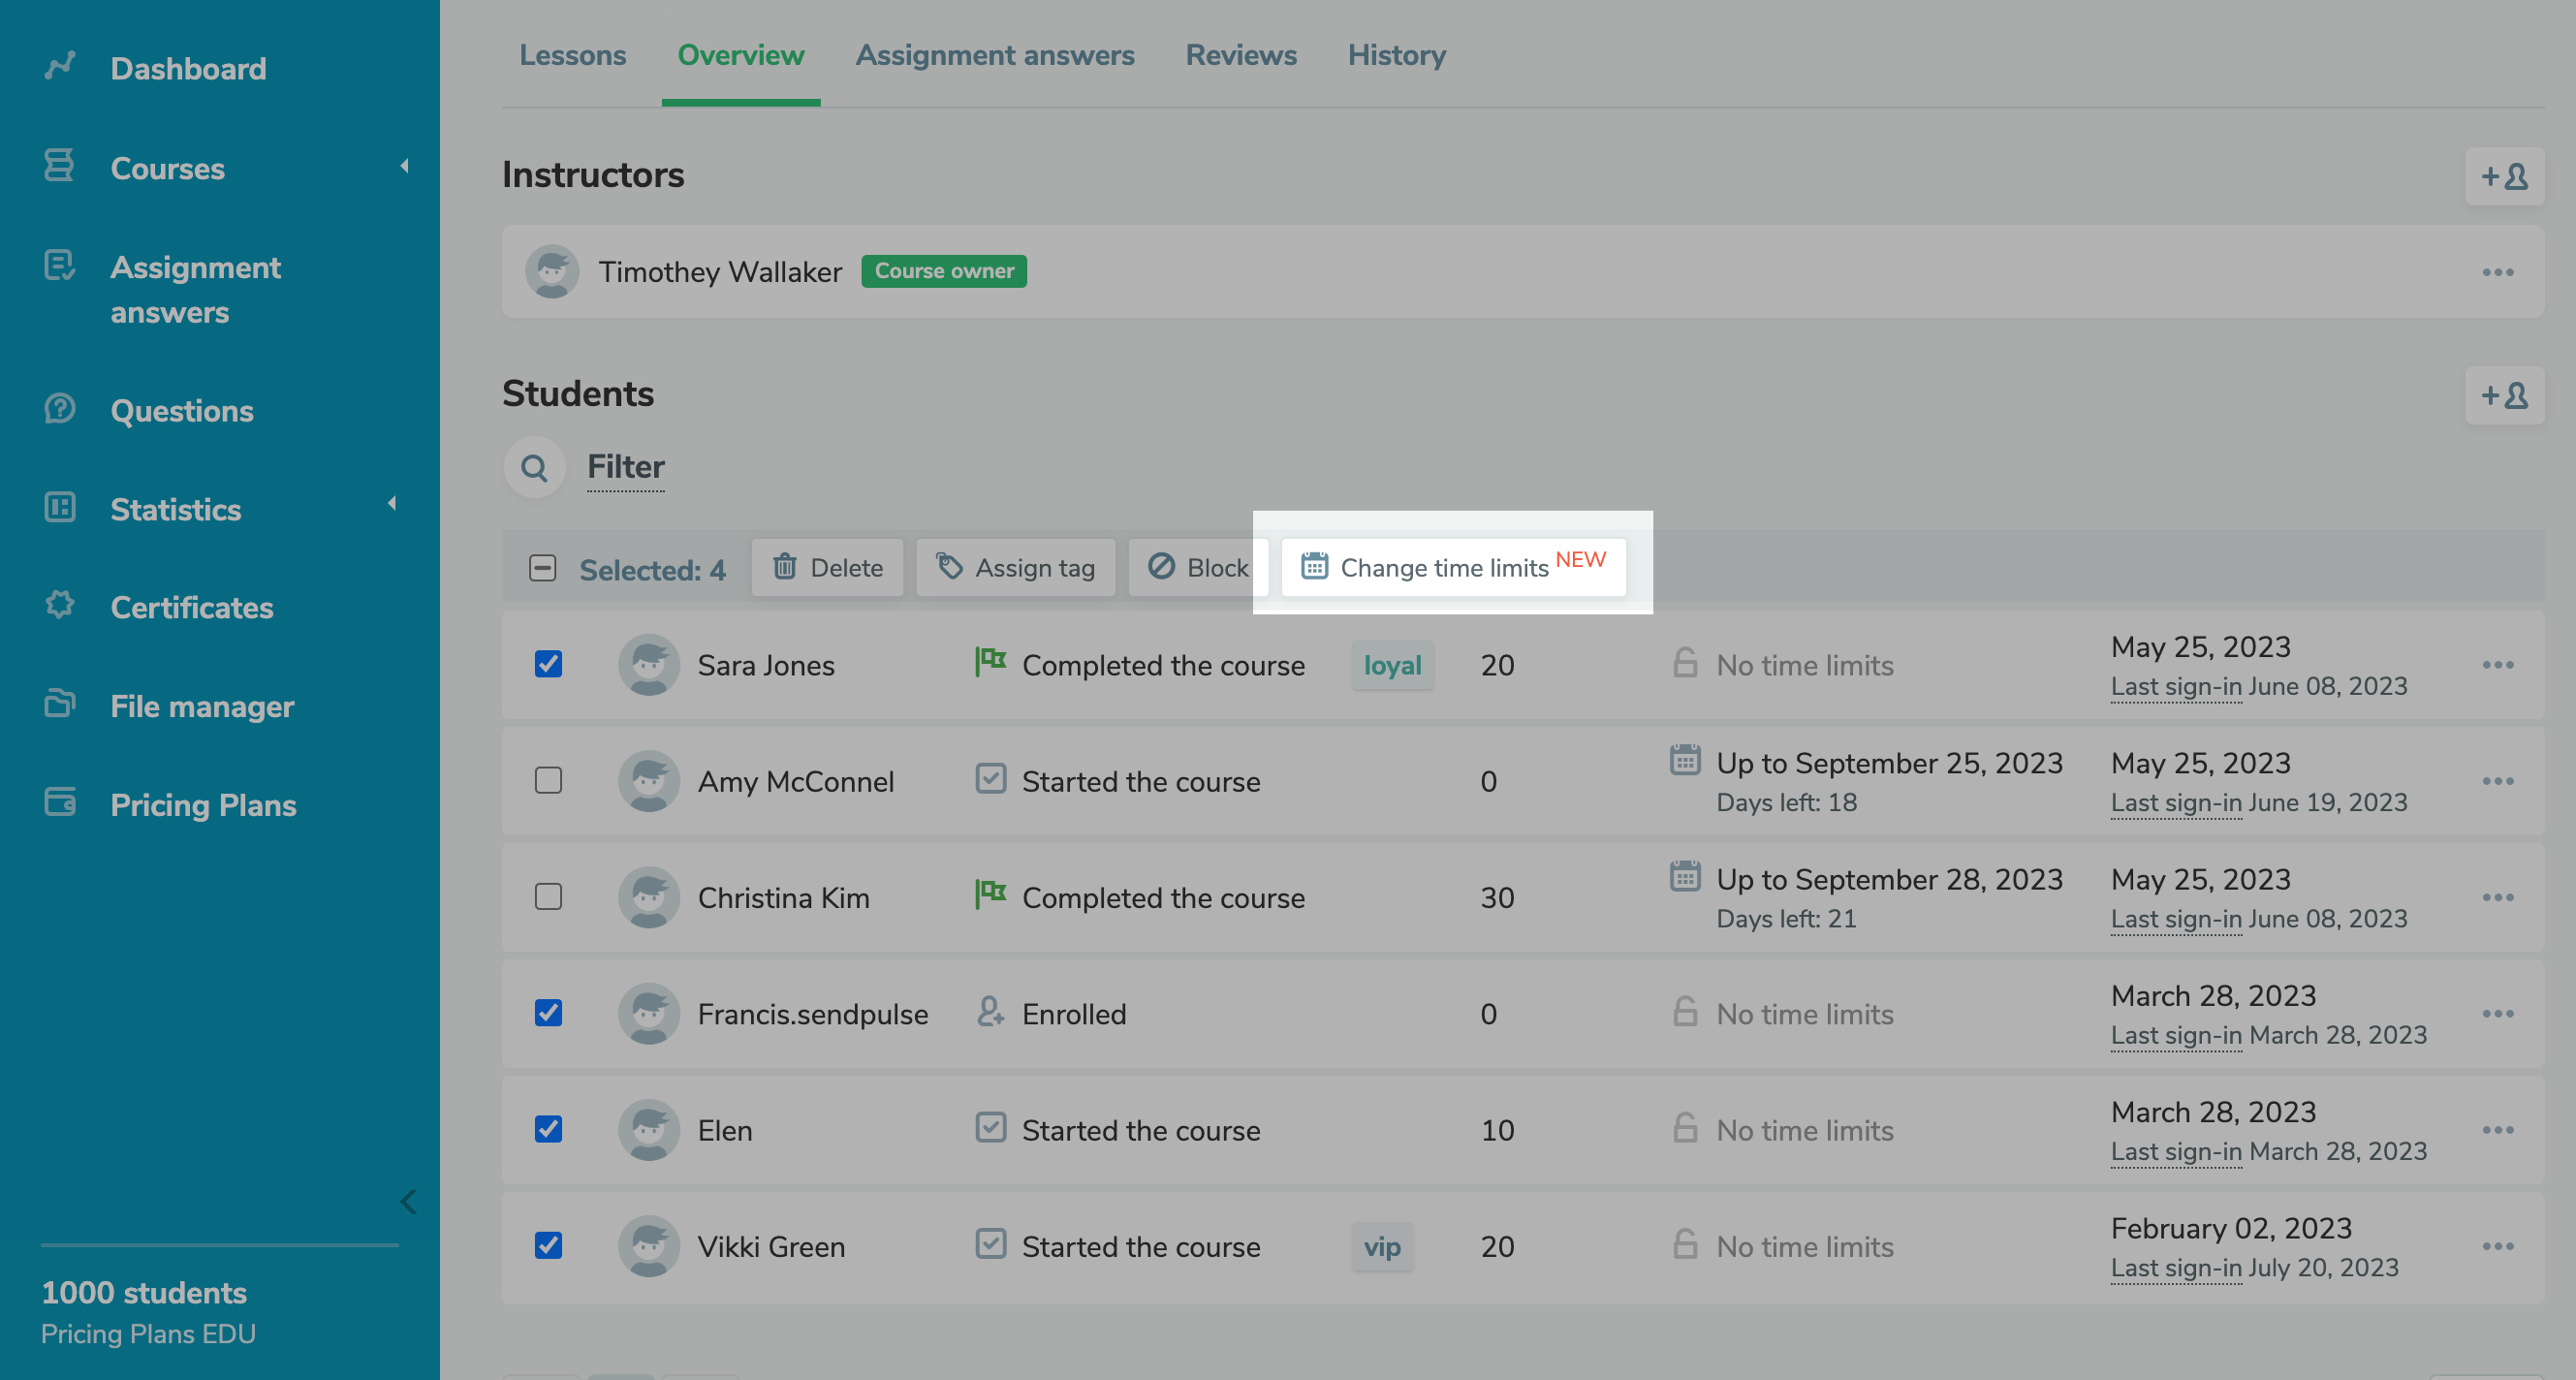
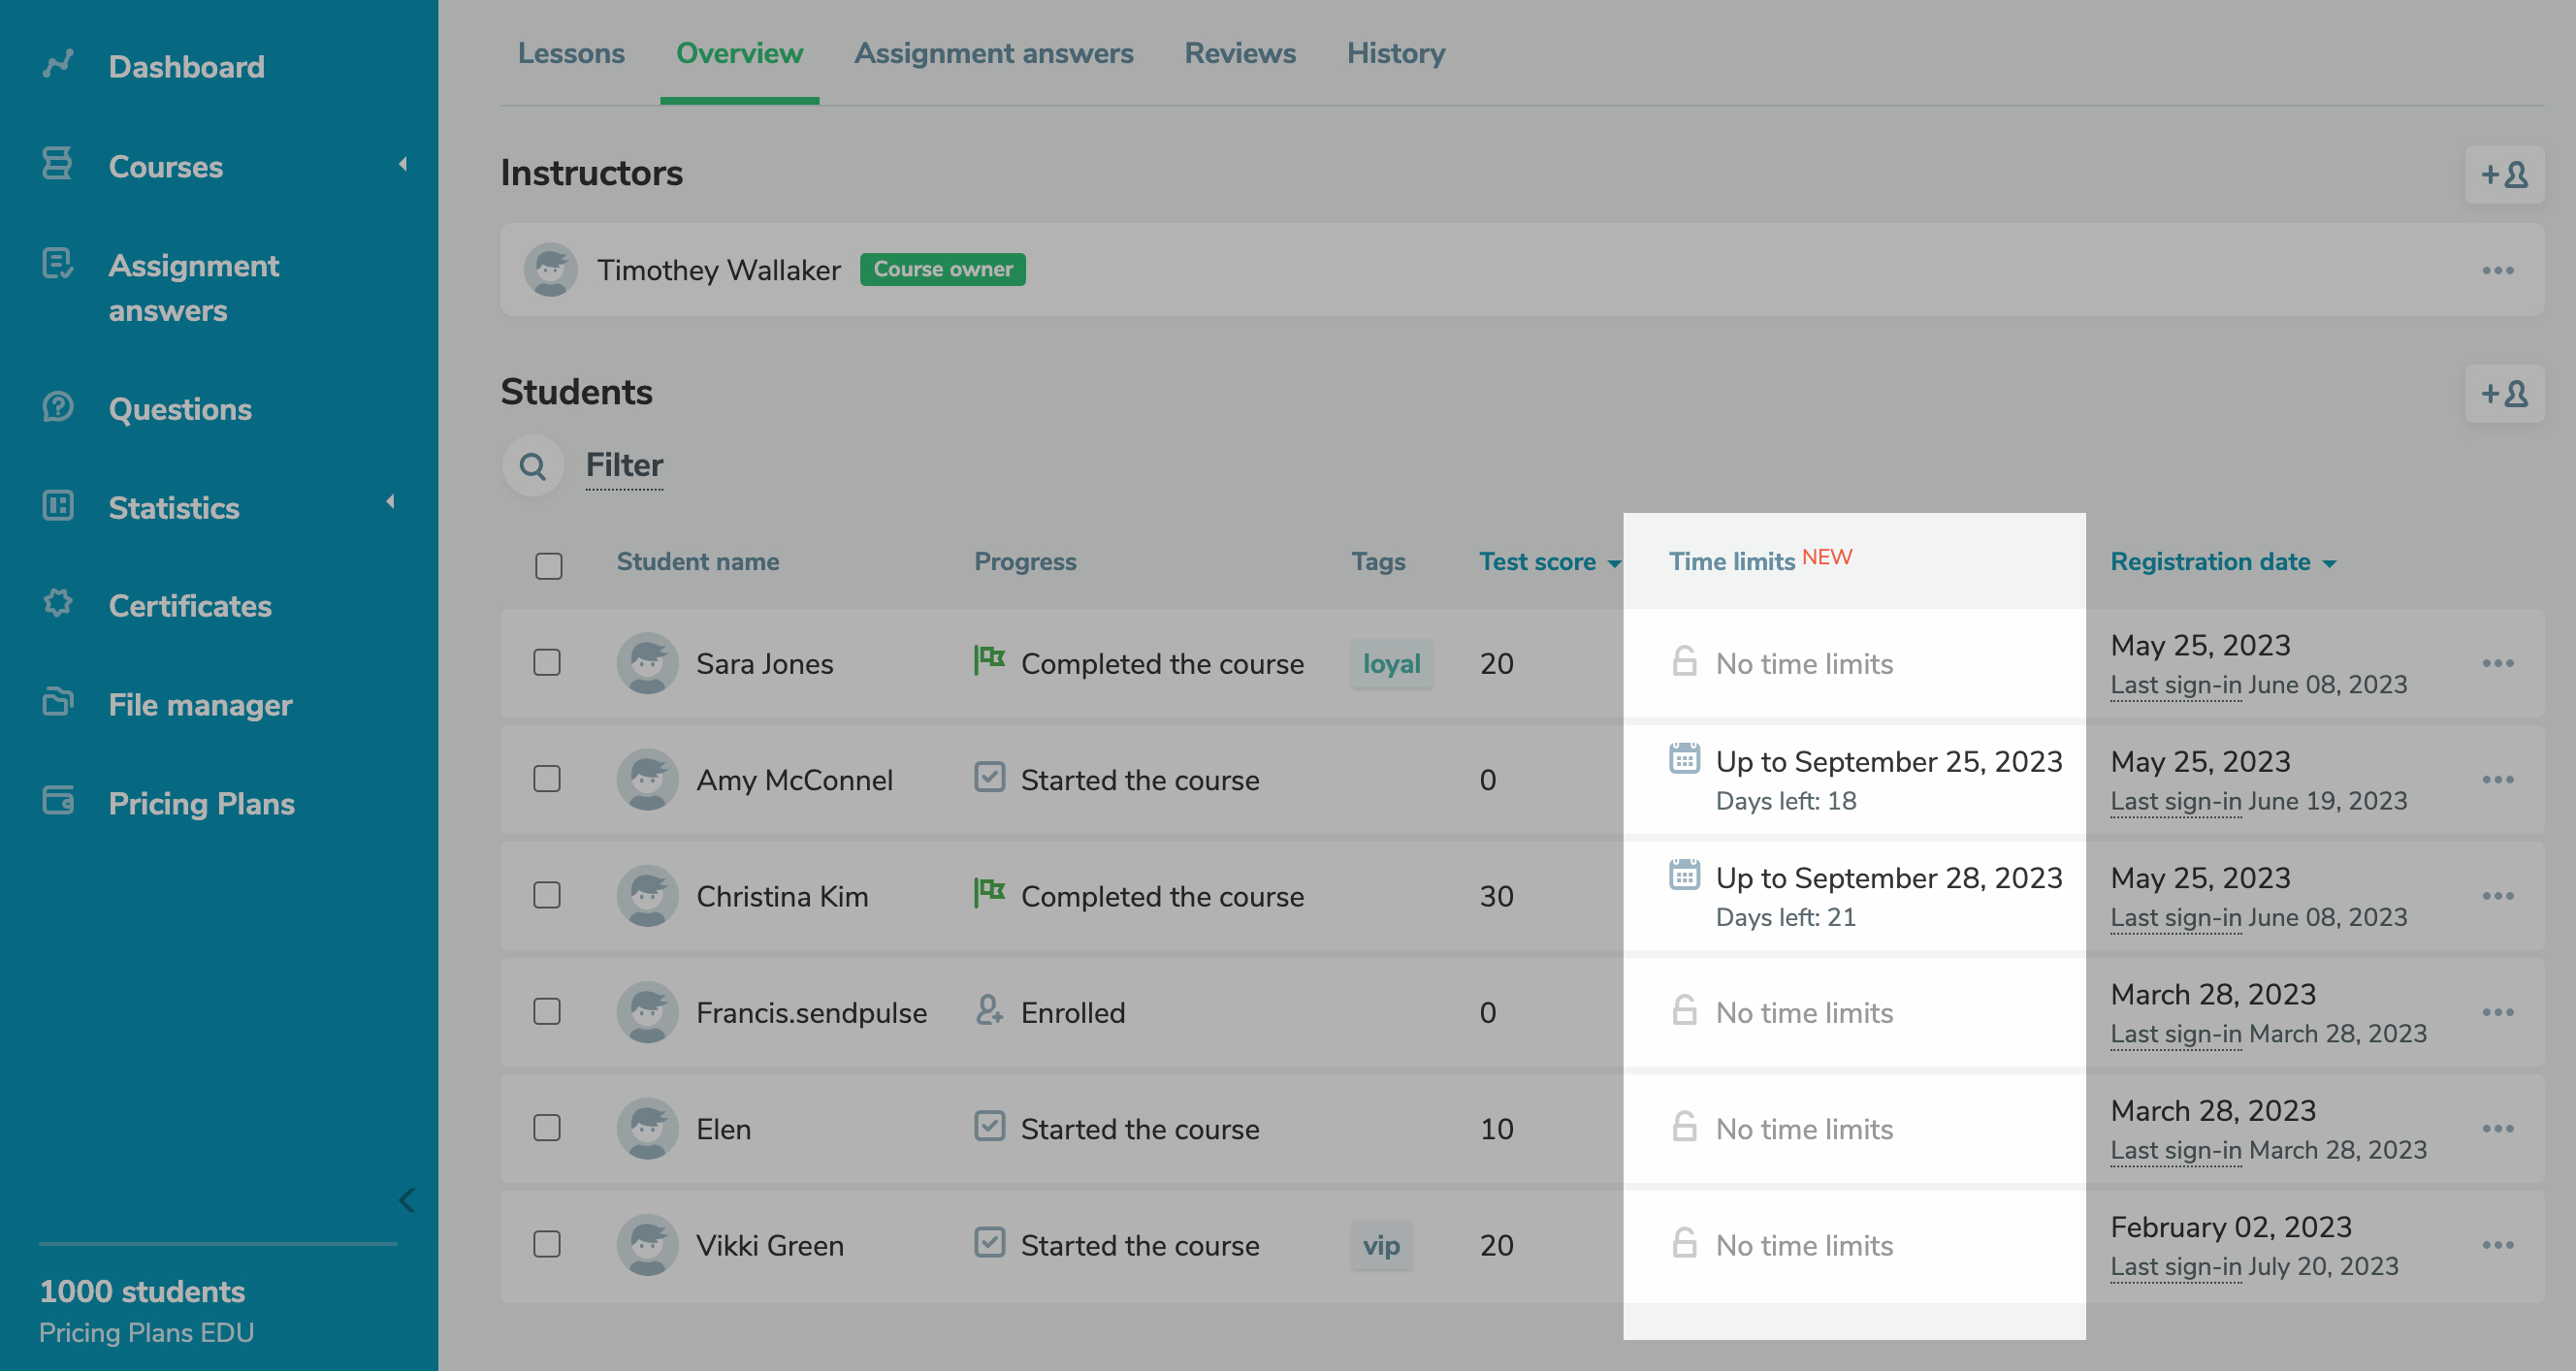
In the "Time limits" column, you can view what time limit you have set and how many days students have left to complete your course.
Payment Status
View Payment Status
In the "Student name" column under the student's name, you can view your students’ course payment status:
| Paid | The student successfully paid for the course using a selected payment system |
| Unpaid | The student did not pay for the course |

You can also view students’ payment details in their CRM cards. Open the required card, and go to the "Payments" tab.

Change Payment Status
You can change a student’s payment status manually if their payment did not come through a connected payment system. Check the checkbox next to the contact, and select "Paid" in the toolbar.

Confirm that you want to change this student’s payment status to "Paid."

Student Achievement
In the "Score" column, you can monitor students’ progress and the scores they earned during the entire course of study.

Assigning Tags
With tags, you can filter your contacts by a certain attribute to be able to find the necessary contacts faster and work with each group individually.
To assign a tag to a student, check the checkbox next to the student’s name, and select “Assign tag” from the top of the actions panel.

Select the tag that you previously created in the "CRM" section.
The CRM and EDU services have a common tag database. You can find students by tag in the "Contacts" tab in CRM and in the "Overview" tab in EDU.

To assign a tag to the list of students displayed on the page, check all the checkboxes. Let’s say you want to highlight successful students who have completed their studies. Enter the filter values for the "Score" and "Status" criteria. Then tag everyone, and add a tag.

Student Card
You can view information about each student individually. To do this, click a student’s name in the “Overview” tab. On the left, you will see their name, registration date and time, the source where the student came from, and contact info. You can also delete and block students or go to their CRM contact cards.
To edit or add information, click Edit.

On the right, you will see your course name, website link, the student’s course review, and their total number of lessons completed. Click the arrow to see more information about the course.
You can view a student’s registration and last visit date and time via their student account. Below you will see the list of lessons, their progress statuses, the student's review (if they provided one after a lesson or test), and their test results.

To view a student's course review, hover over Rating and review.

How to View Student Information in the “CRM” Section
Please note that only users who have access to your CRM can view and edit your contacts and manage your deals in CRM.
Go to the "CRM" section in the "Contacts" tab. Filter your contacts by the “Courses” source.

Click on a contact to open their card, and go to the "Edu" tab.
The “Edu” tab displays all the courses for which the contact has registered, their course completion status, total score, and test results for each section of the course.

To view the list of completed lessons and their completion dates, click "More."

To contact a student via CRM, click on the "Send Email".

If you create a deal with a contact, you can send emails to them automatically using the "Change of deal status" trigger. This will allow you to notify the student about the start of the course or certificate issuance and invite them to similar courses. In the future, there will be more triggers associated with events in the online course platform.
Read more: How to Manage Contacts in CRM.
How to Block a Student
You can block students to exclude them from your pricing plan. They will not be able to take your existing courses and register for new ones. Blocked students will also lose access to their student accounts, and all of their course progress will be deleted.
To do this, open a course in the "EDU" section, and go to the "Overview" tab. Find the necessary student, go to their card, and click the block button. Then, confirm the action in the next window.
You can block and unblock students in the "CRM" section. Read more: How to Manage Contacts.

You can also block multiple students. To do this, select them, click Block, and confirm the action.

You can unblock students in the CRM section. After you unblock students, you need to add them again to your course or courses. Once unblocked, they should pass the lessons again and redo the assignments.
Last Updated: 12.12.2023
or